User Guide: Support Request Process
Purpose
This guide provides you with clear instructions on how to submit tickets to Support when you face an issue, need help, or have feedback about the system. Whether you're encountering an error, need assistance with a feature, or have an idea for improvement, this guide ensures that your request is processed quickly and efficiently.
When to Submit a Support Ticket
Before you submit a ticket, please check Reluna’s Knowledge Base for possible solutions. You may find the answer to your issue there, which could help resolve your problem(s) more quickly.
How to Create a Ticket
Our ticketing system offers three distinct forms to help you efficiently address your needs. Select the appropriate option based on the purpose of your request:
Click the
 icon in the bottom-left corner of the system (accessible from any page) to create a Support ticket.
Complete the form with all the required details to ensure your request is processed efficiently. Here are detailed guides for each field to help you fill them out accurately.
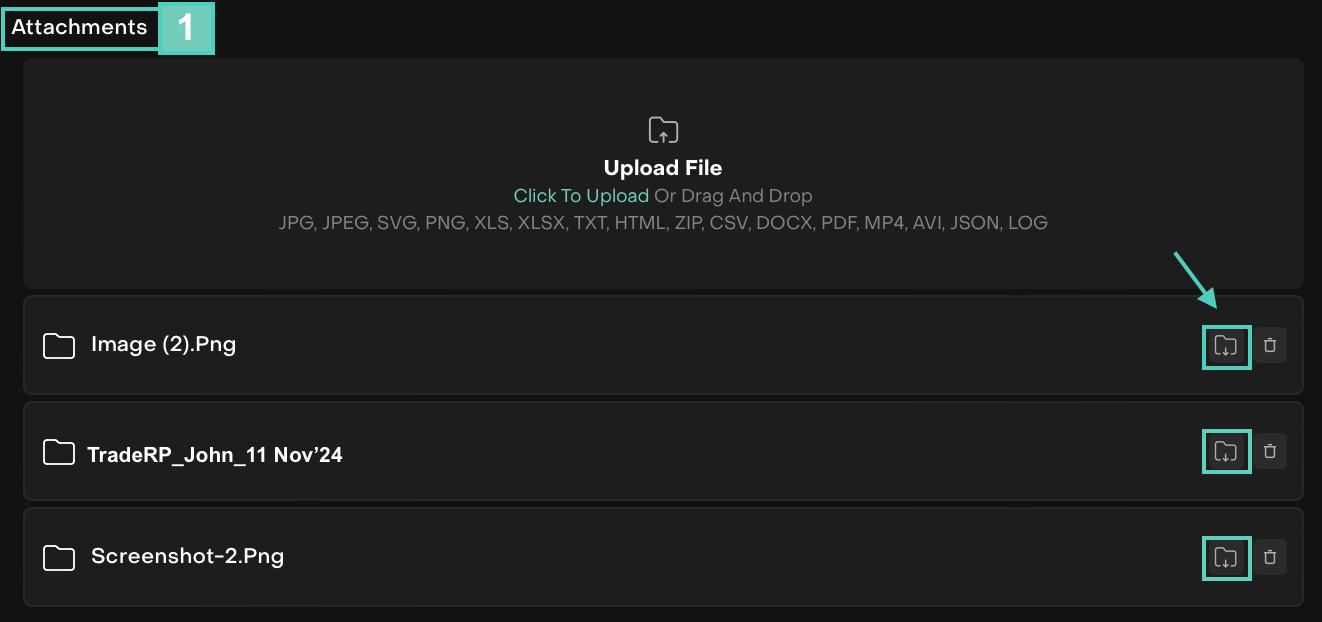
Upload relevant files. This is an optional but highly recommended as it provides additional context or evidence to help us better understand and resolve your request.
Ensure the file is in one of the supported formats, such as JPG, JPEG, PNG, GIF, PDF, HEVC, TXT, XLS, XLSX, SVG, ZIP, HTML, MP4, DOCX, AVI, JSON and LOG
Click the Send button to submit your service request. After submission, you will receive an acknowledgment email from Support.
Where to find submitted tickets
All your submitted tickets can be found in the My Requests table on the Reluna platform. This section allows you to view, update, or close your tickets conveniently in one place.
There are 3 ways to access the table:
A. From the Profile
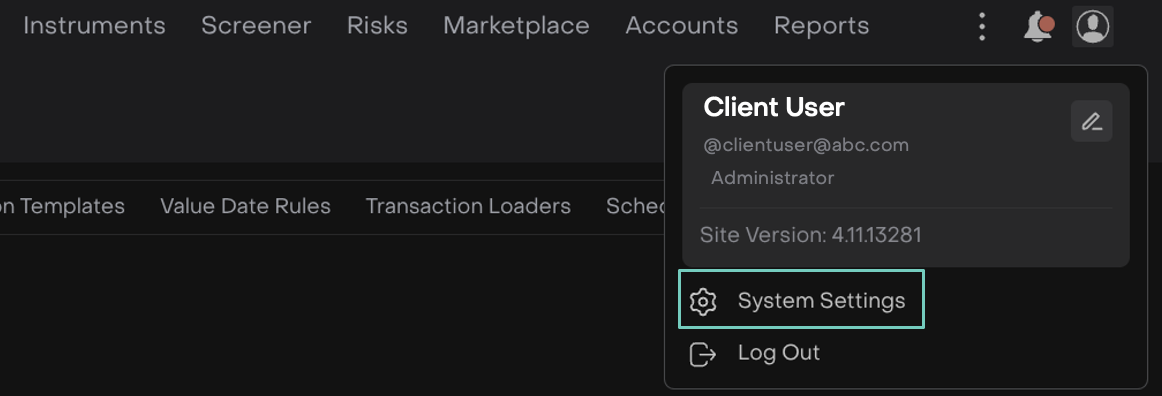
Click the
 icon located on the right corner of the platform.
Click
 from the support icon
B. From Notifications
Find and Open Notification
 icon on top right of the platform (next to Profile).
On the Notifications bar > Click on Settings gear.

C. From the Ticket form
Click the
 icon in the bottom-left corner of the system;
Click
 from the support icon
Then, find My Requests tab on the page.
Or,
Export all or selected tickets in “My Requests” tab to Excel.

My Requests Table
Table has the following columns:
Ticket ID: A unique ID for each request submitted by the user.
Summary: A brief description of the issue or enhancement request.
Submit Date: The date and time the ticket was created or submitted.
Estimated Delivery Date: The expected resolution or completion date for a request or ticket.
Last Update: The most recent date and time when the ticket was updated.
Priority: The importance level of the ticket.
Component: The specific area or feature the ticket relates to.
Status: The current progress or state of the ticket (e.g., Open, Under Review, Work in Progress, Done, Declined).
How to Update a Submitted Ticket
After submitting a ticket, you may need to provide additional details or attach files to help resolve the issue faster. The system allows you to do this by opening a dedicated page for ticket updates.
Steps to Update Your Ticket:
Locate the ticket by navigating to your My Requests table.
Click on the ticket to open it.
This will take you to a dedicated page for the ticket update.
To update the ticket, you can:
(1) Use the Attachment box to upload files.
(2) Click on Download icon to open or view the attached file(s).
You can delete files using the Delete icon next to uploaded file.
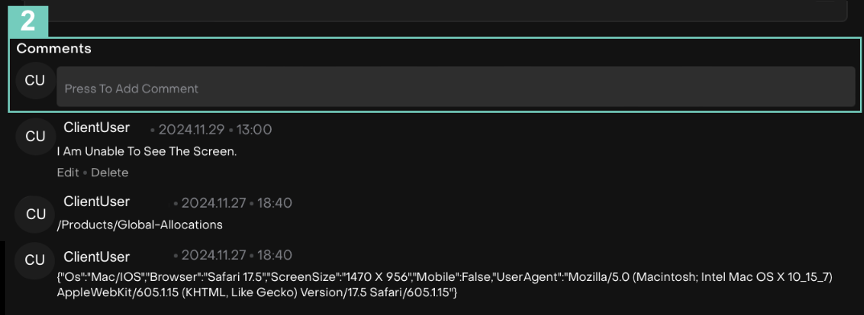
(2) Add details in the Comments section and press Enter key.


Expected Response time and SLA
Service Level Agreement (SLA) is a commitment by the support team to respond to and resolve issues within specific time frames. It begins when all information is provided and the ticket is submitted for review.
Each company establishes its own SLA, defining the response and resolution times for issues based on their priority. This ensures timely and effective support tailored to the urgency of your concerns.
To learn more about the Reluna SLA, refer to the detailed documentation here:
Reluna - Service Level Agreement

.gif?inst-v=a381b3b9-68a8-4982-8a73-a7e366905006)